How to Install a Tow Bar: Complete DIY Guide for UK Drivers
Installing a tow bar on your car is a straightforward process that requires proper preparation, the right tools, and attention to detail. This comprehensive guide will walk you through the complete fitting process, from removing the bumper to final testing, ensuring your trailer hitch is safely and correctly fitted to your automobile.
Before beginning the fitting process, gather all necessary tools and materials. You'll need a ratchet and socket set, torque wrench, wire brush, safety glasses, gloves, drill bits, and penetrating oil. Most hitch kits include specific bolts and mounting hardware, but always verify completeness against the assembly instructions.
Check your automobile's towing capacity in the manual or VIN plate before proceeding. This information is crucial for selecting the appropriate hitch class and ensuring compliance with manufacturer specifications. Disconnect the car battery for safety, particularly before any electrical work begins.
Essential Tools Checklist:
- Torque wrench and socket set
- Wire brush and penetrating oil
- Safety glasses and work gloves
- Drill bits and thread tap
- Small wire brush for cleaning mounting points

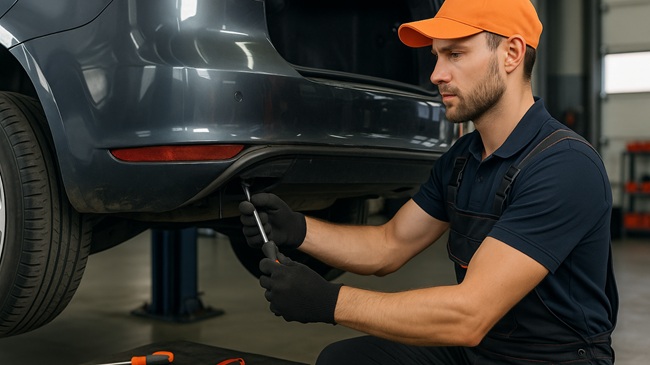
1. Removing the Bumper
Most car fittings require bumper removal to access the chassis mounting points. Support the bumper carefully during removal to prevent damage to the automobile's bodywork. Remove any plastic covers or protective plates that may obstruct access to the mounting holes.
Clean the mounting points thoroughly with a wire brush to ensure proper bolt engagement. Apply penetrating oil to any corroded bolts that may be difficult to remove. Some cars may require cutting the bumper according to the supplied template to provide clearance for the receiver hitch.
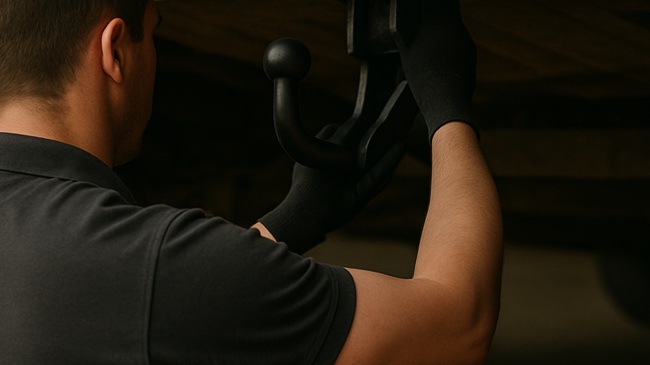
2. Attaching the Trailer Hitch to the Vehicle
Position the hitch receiver carefully onto the automobile frame, aligning it with the pre-drilled mounting holes. Insert bolts by hand initially to allow for adjustment, then tighten to the manufacturer's specified torque settings using a torque wrench. This step is critical for ensuring the hitch components are properly secured.
Apply rust-inhibiting spray to all bolt connections and seal any seams between the hitch and automobile frame with waterproof sealant. This prevents corrosion and extends the lifespan of your setup. Different hitch types may require specific mounting procedures, so always follow the hitch instruction manual provided with your kit.
Professional Tip: "Always apply thread-locking compound to the bolts during assembly. This prevents loosening due to vibration during towing operations," advises Autodoc's senior installation specialist.
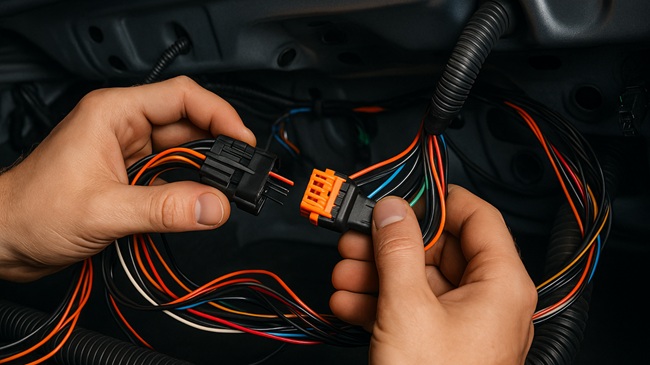
3. Installing the Vehicle-Specific Electrical Kit
Modern cars require a dedicated electric kit to avoid electrical faults and ensure proper trailer light function. Route the wiring harness according to the automobile-specific notes, securing all cables with appropriate clips to prevent damage.
The electrical connections must be properly waterproofed to prevent corrosion. Use heat-shrink tubing or waterproof connectors as specified in the assembly instructions. Some automobiles may require bypassing existing electrical systems or installing additional modules for compatibility.
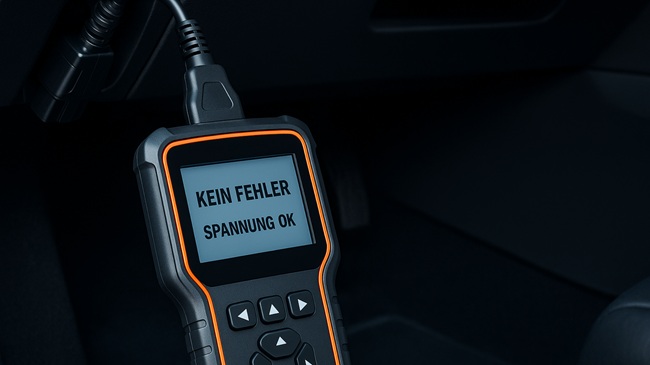
4. Connecting and Testing the Electrical System
Connect the trailer wiring harness to the car's electrical system following the manufacturer's wiring diagram. Test all connections using a trailer board or multimeter to verify proper function of brake lights, indicators, and tail lights.
Testing Procedure:
- Connect trailer board to hitch receiver
- Test brake lights with parking brake engaged
- Check turn signals and hazard lights
- Verify tail lights and number plate illumination
Ensure all trailer lights function correctly before completing the setup. Poor electrical connections can lead to MOT failures and safety hazards.
5. Reinstalling the Bumper and Final Inspection
Carefully refit the bumper and any removed components, ensuring all mounting points are properly aligned. Double-check all bolt torque specifications and verify that no tools or loose components remain in the work area.
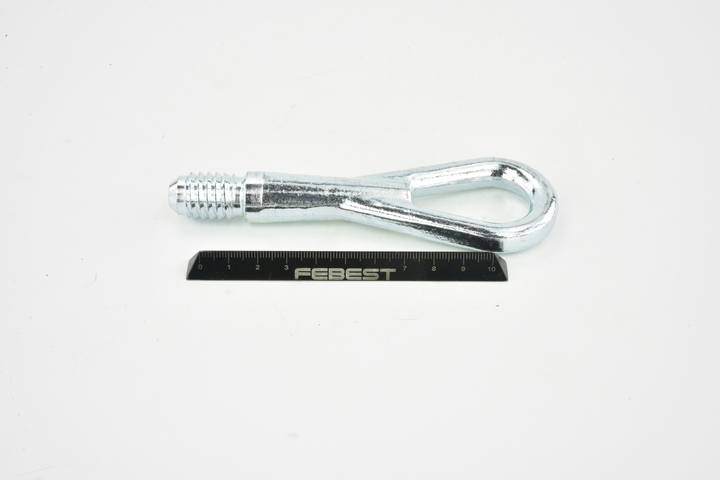
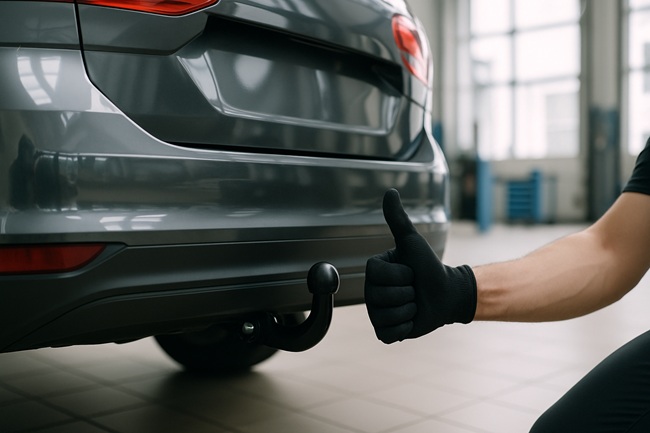
Install the ball mount and secure with the hitch pin. Test the complete setup by attempting to attach and detach a trailer coupler to ensure smooth operation. The ball mount should sit level when the automobile is loaded to its normal operating weight.

How Long Does It Take to Install a Trailer Hitch?
| Installation Method |
Time Required |
Skill Level |
| DIY Fitting |
3-6 hours |
Intermediate |
| Professional Setup |
1-2 hours |
Expert |
| Mobile Fitting Service |
2-3 hours |
Expert |
Setup time varies significantly based on automobile complexity and installer experience. Cars with rear-mounted spare tires or complex exhaust systems may require additional time.
How Much Does It Cost to Install a Trailer Hitch?
Professional fitting typically costs between £150-£300, depending on automobile type and hitch complexity. DIY assembly saves labour costs but requires tool investment. Towbar fitting costs vary based on hitch type and automobile requirements.
Factor in additional costs for automobile-specific wiring kits, which can range from £50-£150. Some cars may require coding or programming after installation, adding to the overall cost.

Professional Installation vs. DIY Installation
Professional installers offer guaranteed fit and warranty coverage, while DIY fitting provides cost savings and learning experience. Consider your mechanical skill level and available tools before deciding. Professional technicians have access to specialized equipment and automobile-specific technical information.
Expert Advice: "While DIY fitting is possible, the precision required for proper torque specifications and electrical connections makes professional installation worthwhile for most car owners," notes Autodoc's technical team.

Trailer Hitch MOT
A properly fitted tow bar shouldn't affect your automobile's MOT status. However, ensure the setup doesn't obstruct lights, number plates, or exhaust systems. The tow hitch types you choose must comply with UK regulations and manufacturer specifications.
Removable hitches should be stored securely when not in use to prevent theft. Regular inspection of mounting bolts and electrical connections ensures continued safety and MOT compliance.
Remember that installation quality directly impacts safety and legal compliance. When in doubt, consult with professional installers or visit an automotive shop for guidance. Proper fitting ensures years of reliable towing performance and maintains your automobile's warranty coverage.