Table of Contents

How to Replace Rear Wiper Blades: A Step-by-Step Guide
Changing your rear wiper blade is a straightforward job that typically takes just minutes and requires no tools for most vehicles. This simple process can save money while maintaining clear visibility during rain and snow conditions. Learning how to fit rear wiper blades properly ensures your windscreen remains streak-free and your vehicle passes its MOT test.
Preparing for Windshield Wiper Installation
Before starting the replacement process, gather your materials and check which specific instructions apply to your vehicle. Proper preparation makes the job smoother and helps avoid damage to your rear window.
Tools and Materials Required
Most rear wiper blade changes need minimal equipment:
- New windscreen wipers (correct length for your model)
- Clean cloth or towel
- Gloves (optional, to improve grip)
- Vehicle manual (for specific instructions)
Tip: Place a cloth over your rear glass before starting. This protects the window if the wiper arm snaps back during removal or installation.
Some vehicles with specialized mounting systems may require:
- Socket wrench (for models where the arm needs complete removal)
- Torque wrench (for precise fastening)
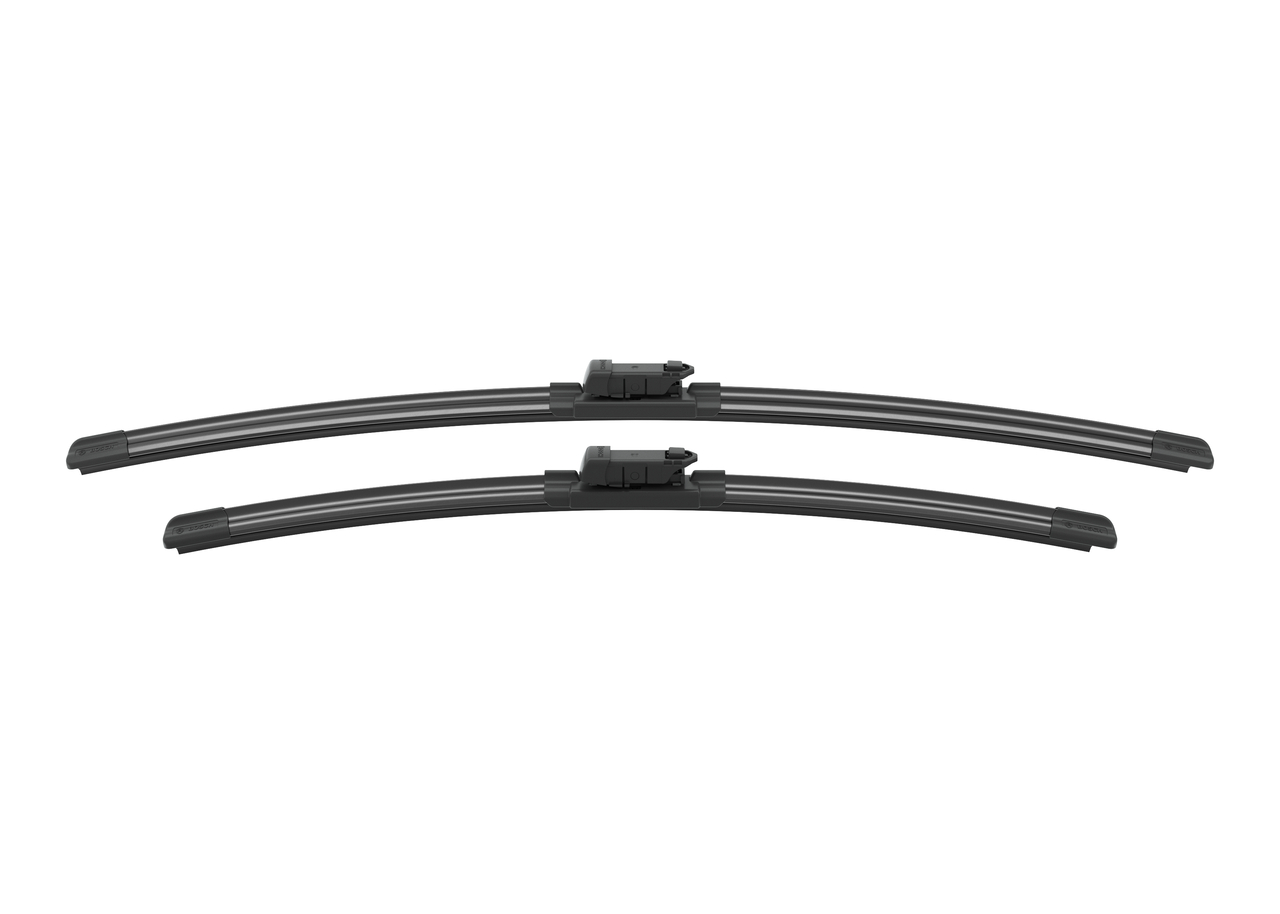
Selecting the Correct Wipers
Choosing the right replacement blades is crucial for proper function. Check your vehicle's manual or measure the old blade to determine the correct length. Windscreen wiper blades come in various sizes, typically ranging from 10 to 16 inches for rear applications.
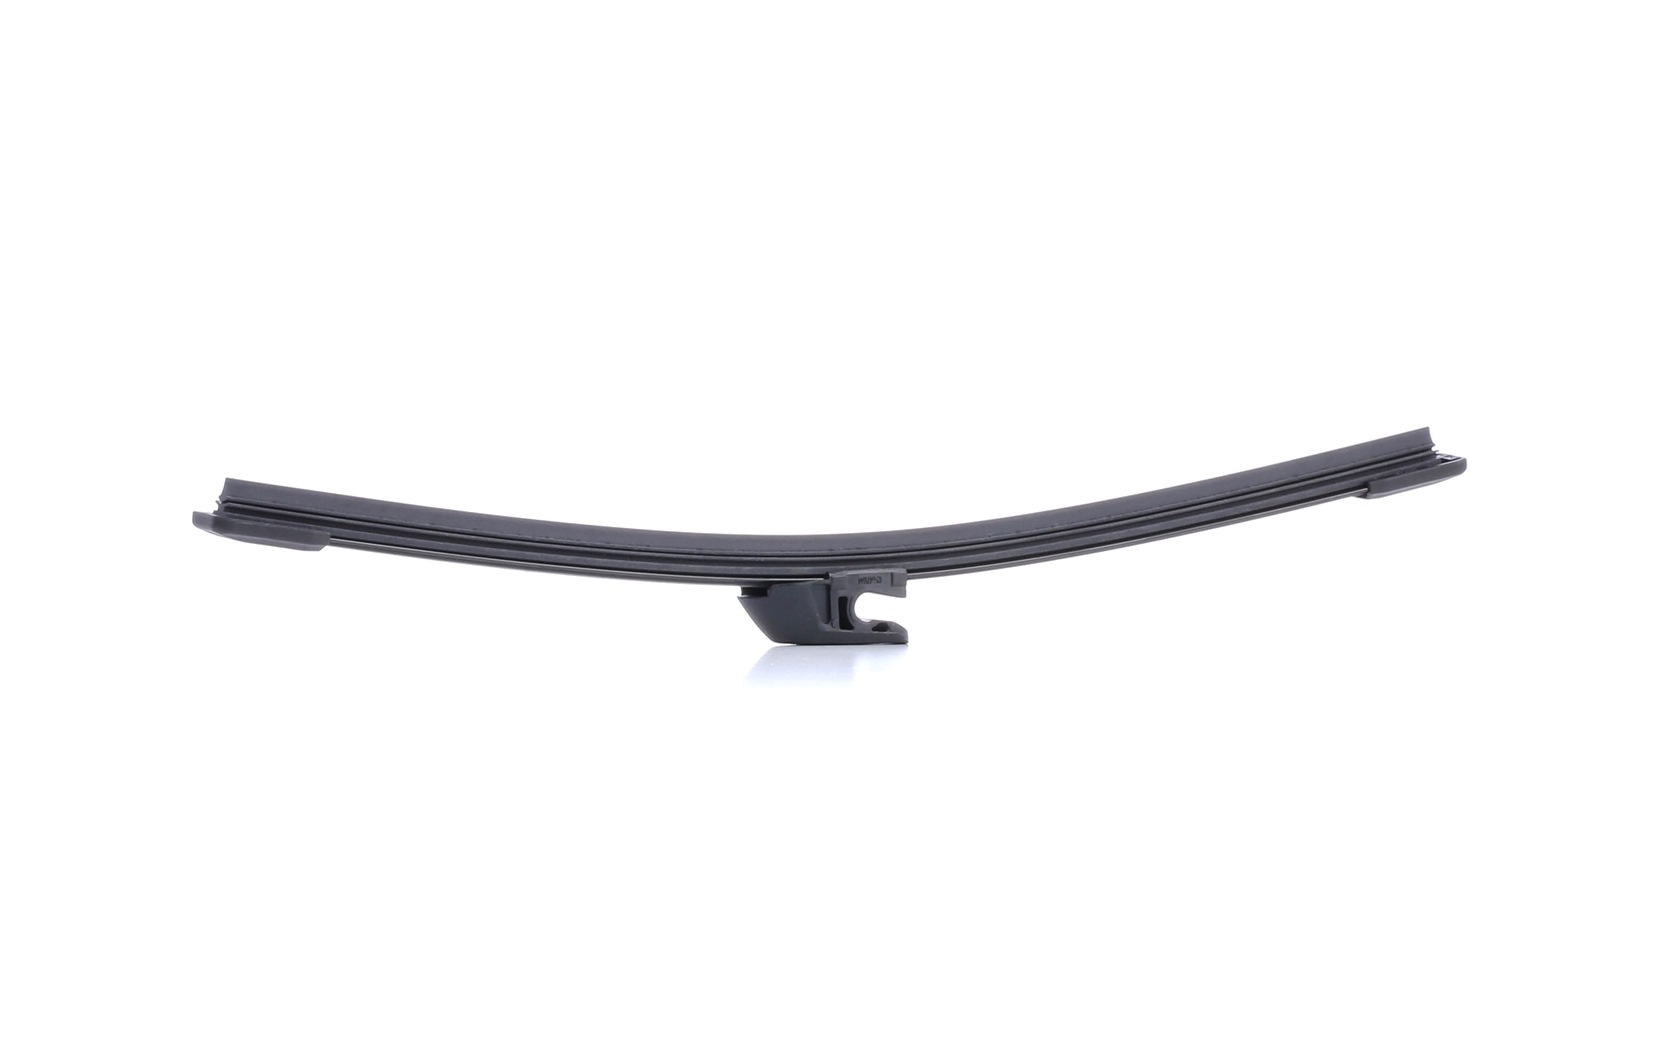
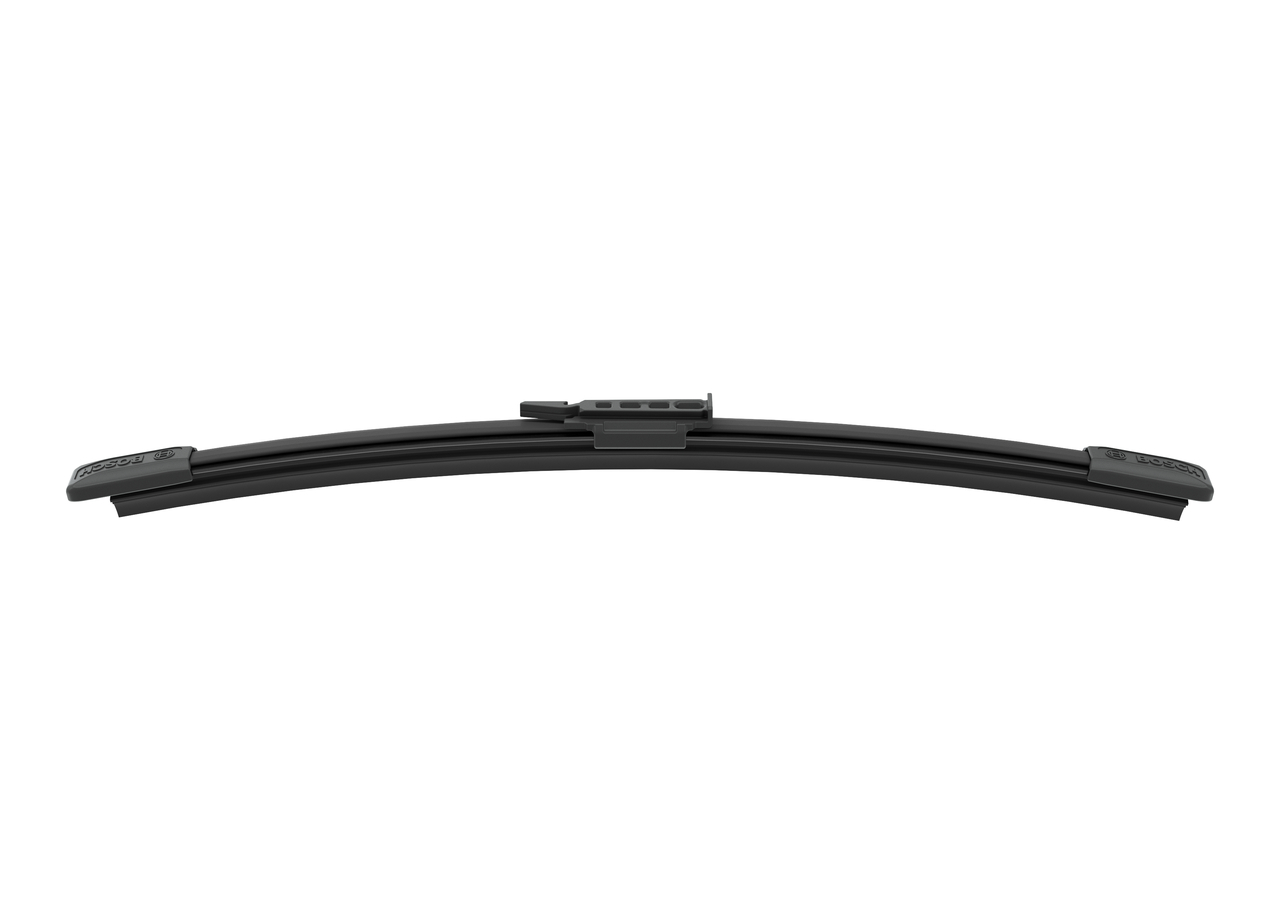
 BOSCH Rear wiper blade
330 mm, Flat wiper blade
Article number: 3 397 016 507
£7.99
price incl. 20% VAT, excl. delivery costs
BOSCH Rear wiper blade
330 mm, Flat wiper blade
Article number: 3 397 016 507
£7.99
price incl. 20% VAT, excl. delivery costs
 Article number: 132000
£32.99
price incl. 20% VAT, excl. delivery costs
Article number: 132000
£32.99
price incl. 20% VAT, excl. delivery costs
 BOSCH Rear wiper blade
300 mm, Flat wiper blade
Article number: 3 397 016 513
£8.99
price incl. 20% VAT, excl. delivery costs
BOSCH Rear wiper blade
300 mm, Flat wiper blade
Article number: 3 397 016 513
£8.99
price incl. 20% VAT, excl. delivery costs
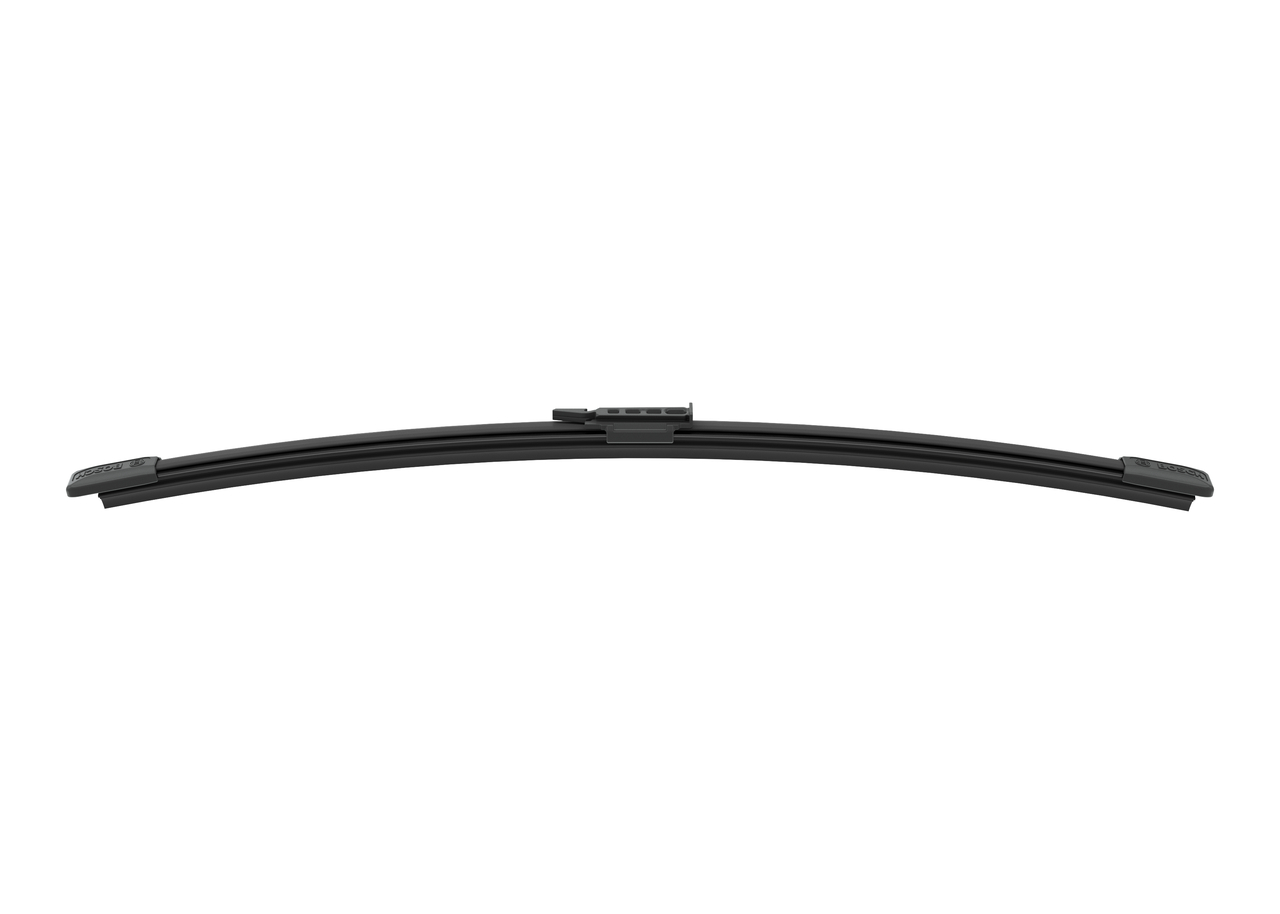
 BOSCH Wiper blade
1000 mm, Standard
Article number: 3 397 018 199
£29.99
price incl. 20% VAT, excl. delivery costs
-53%
BOSCH Wiper blade
1000 mm, Standard
Article number: 3 397 018 199
£29.99
price incl. 20% VAT, excl. delivery costs
-53%
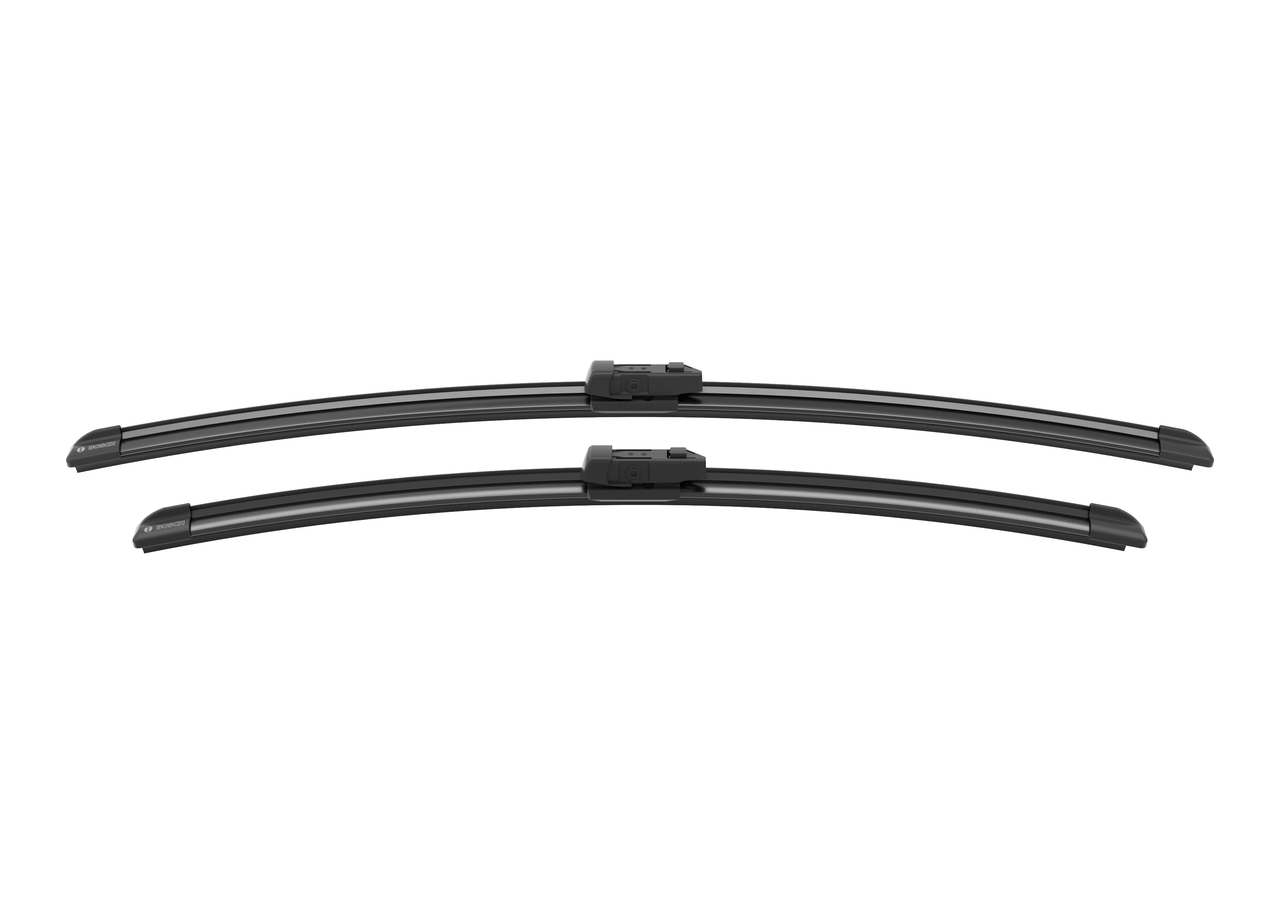
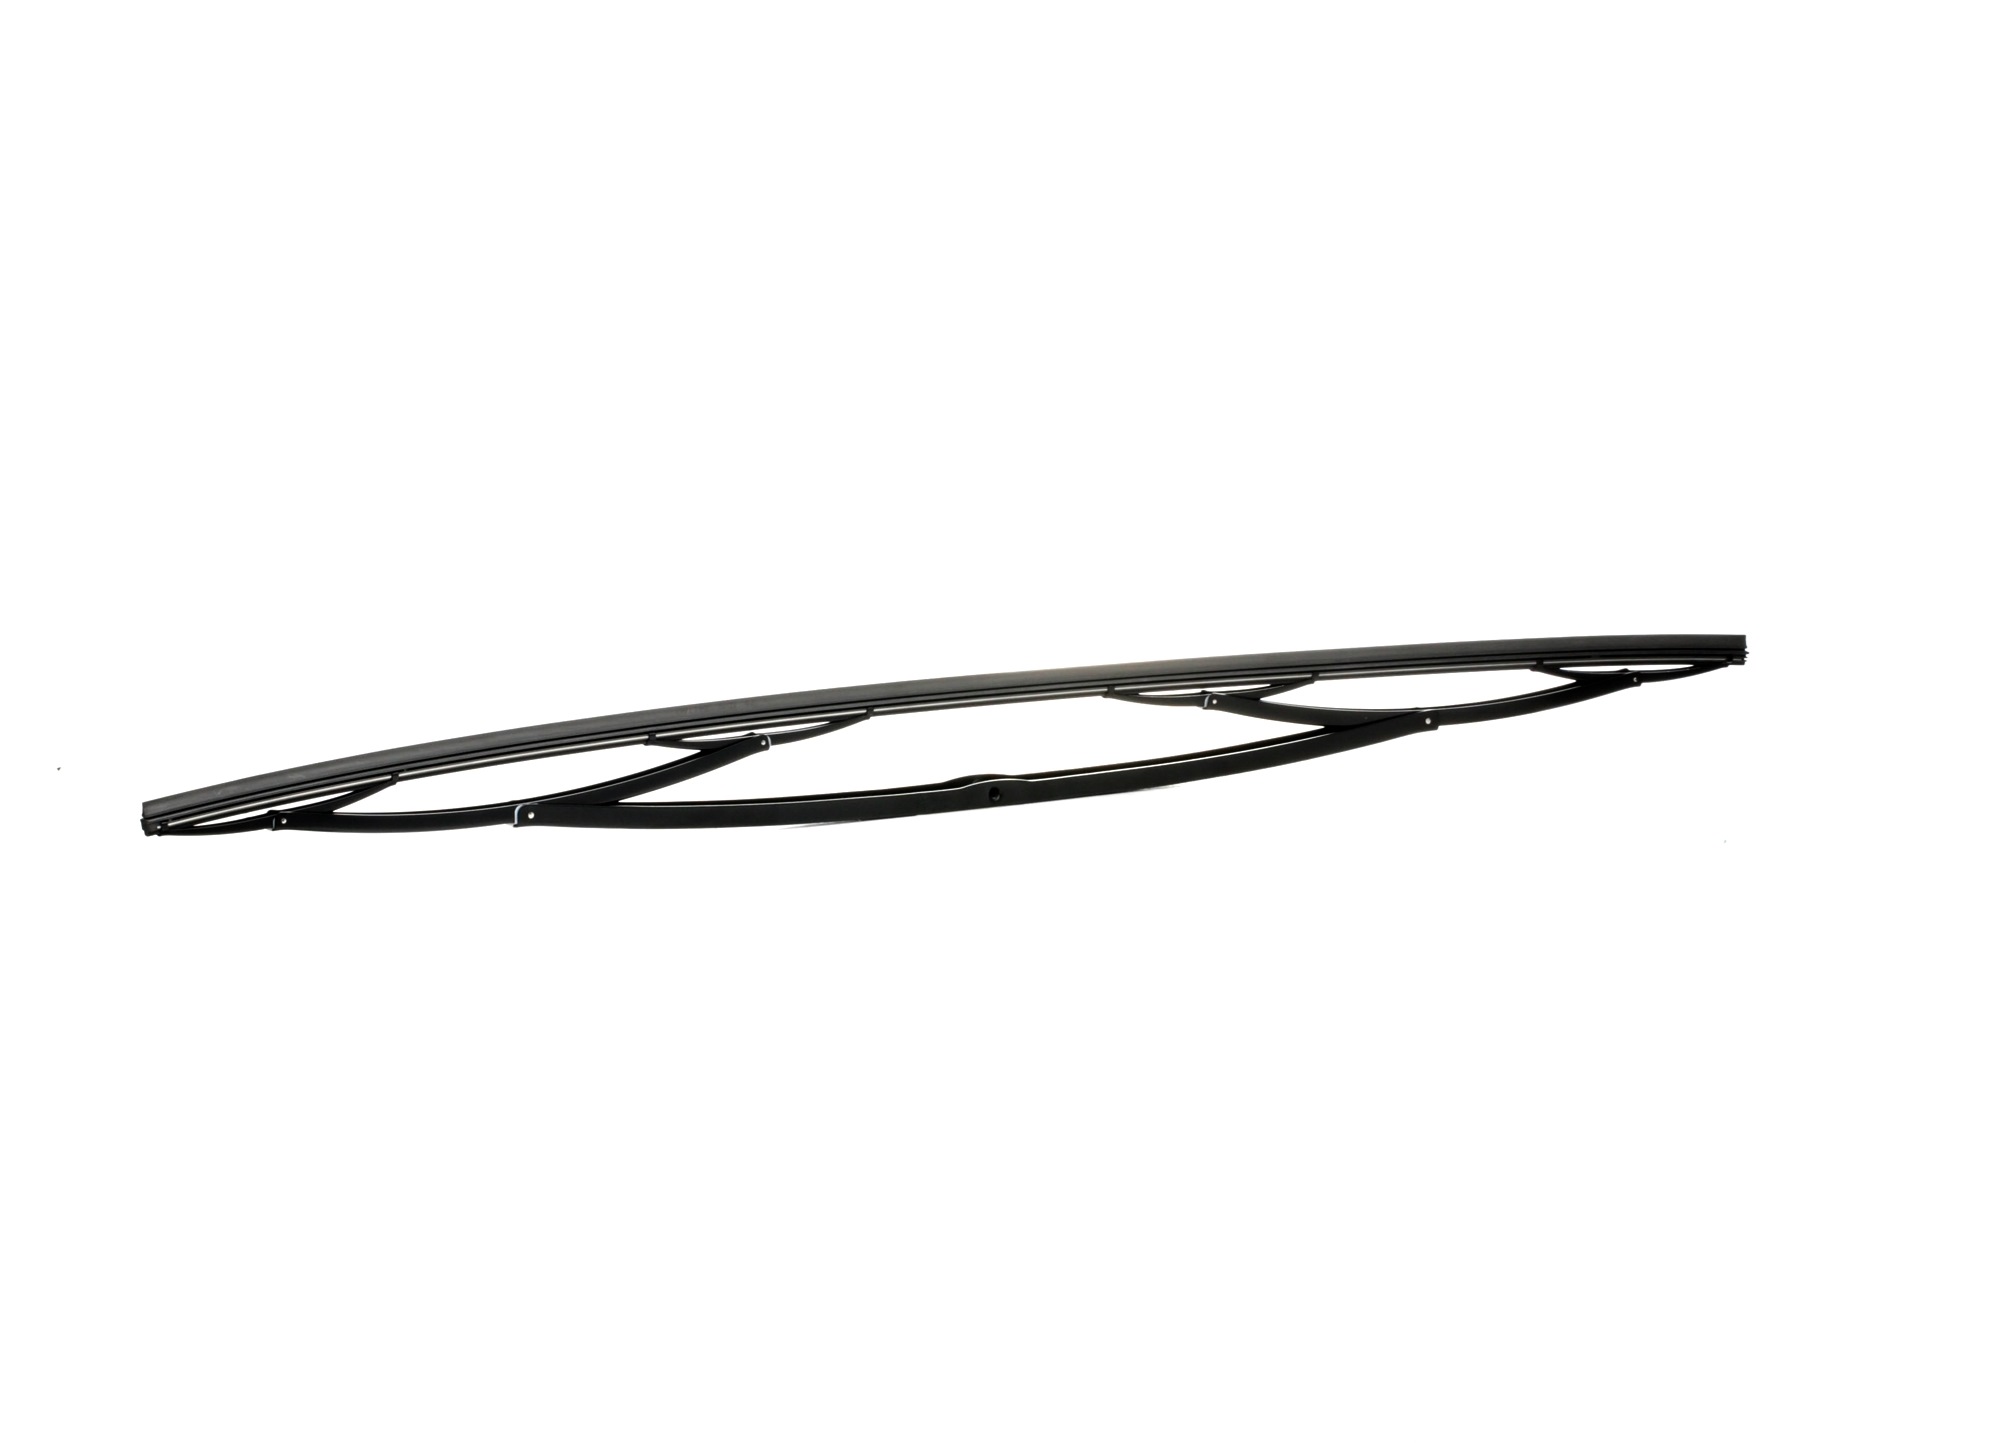
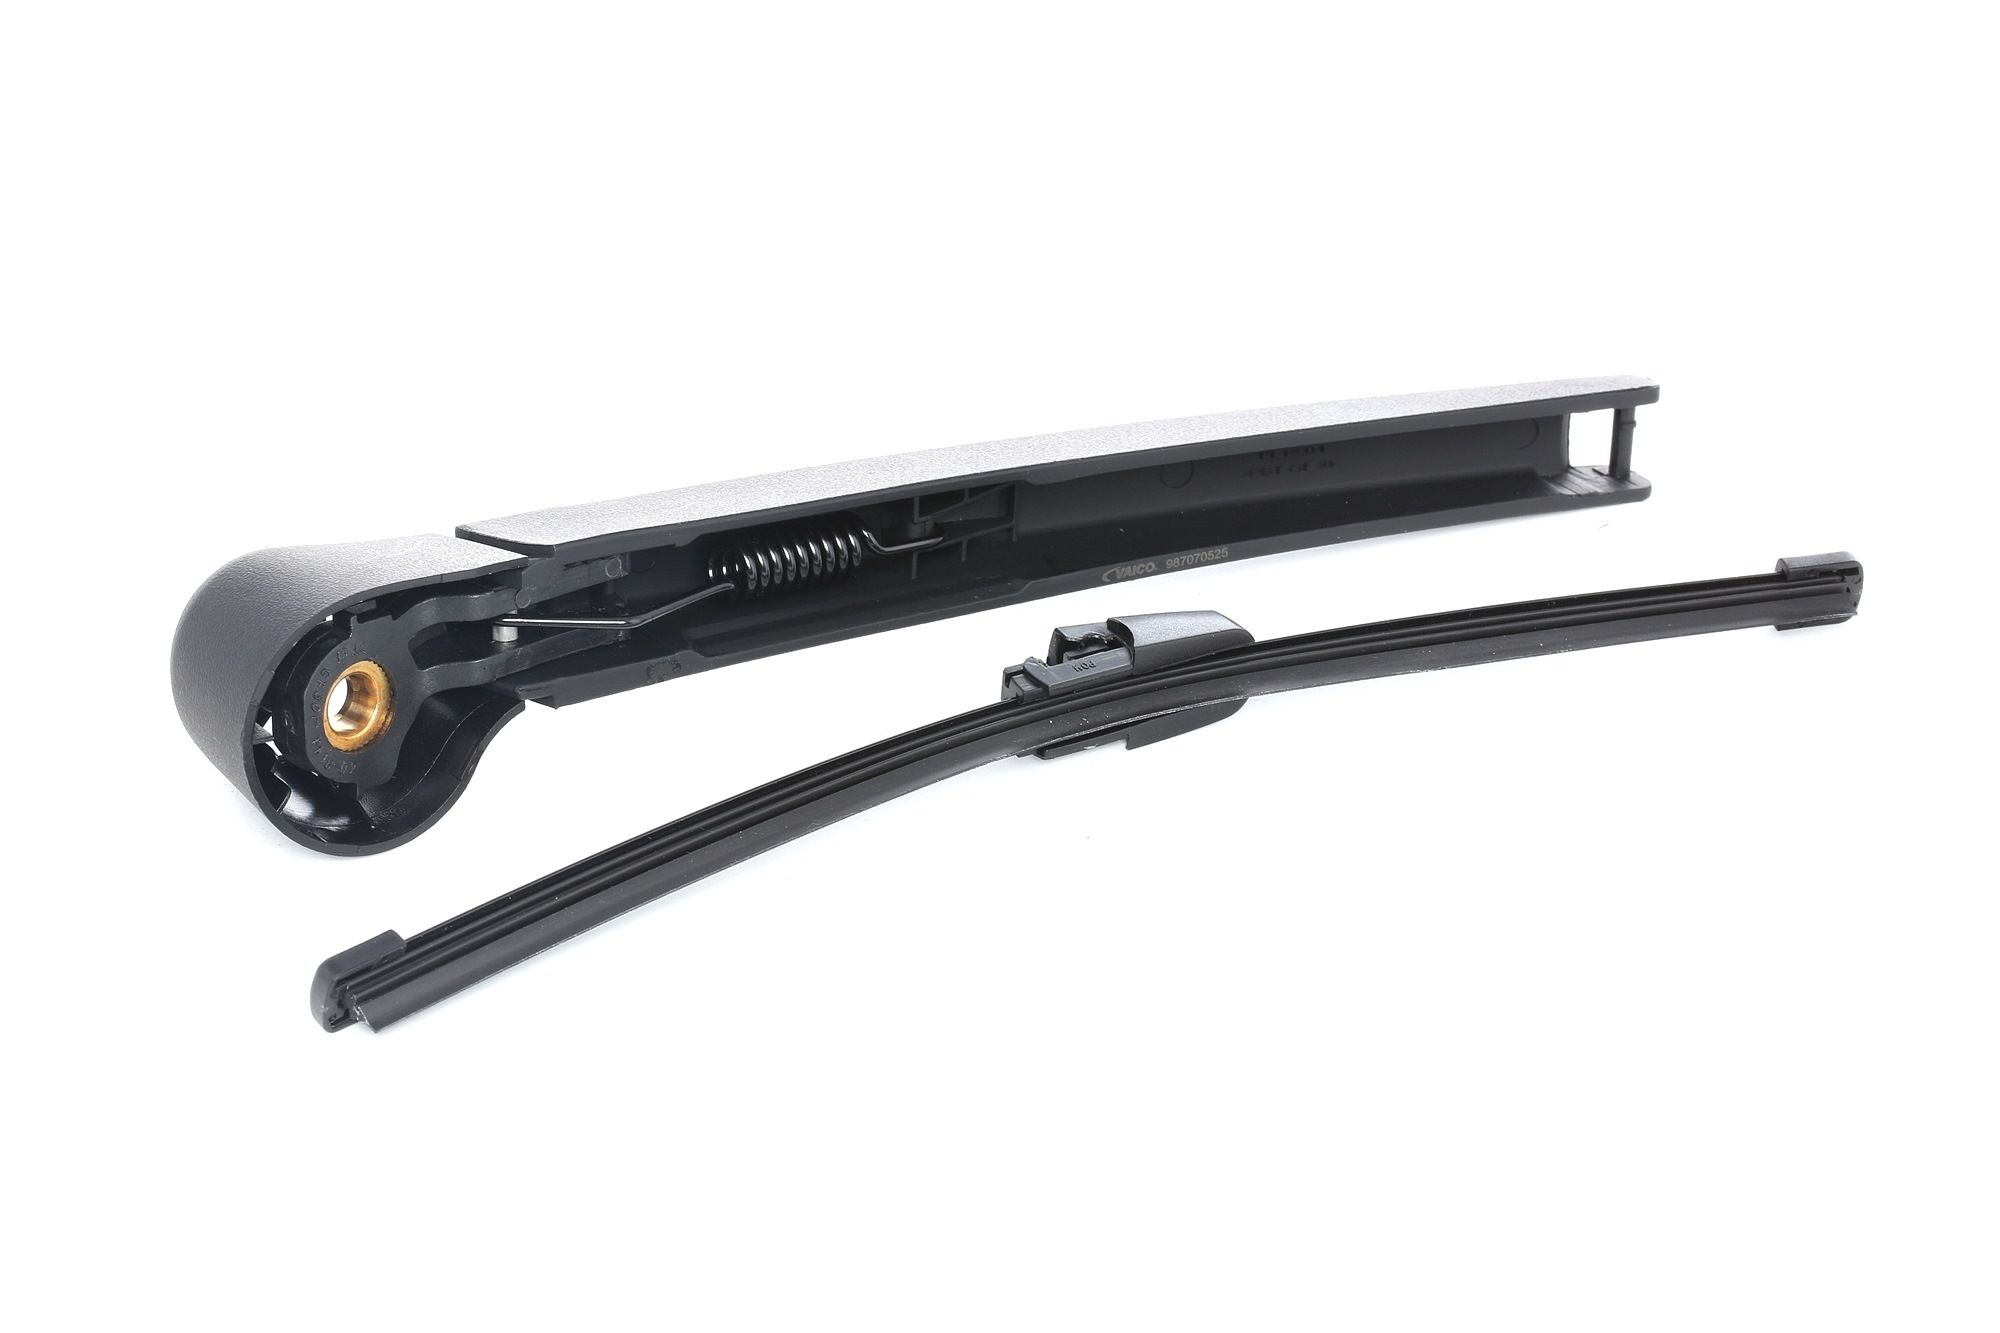 VAICO Wiper Arm Set, window cleaning
with cap, with integrated wiper blade, EXPERT KITS +
Article number: V10-3463
compared to
RRP
£54.98
£25.99
price incl. 20% VAT, excl. delivery costs
VAICO Wiper Arm Set, window cleaning
with cap, with integrated wiper blade, EXPERT KITS +
Article number: V10-3463
compared to
RRP
£54.98
£25.99
price incl. 20% VAT, excl. delivery costs
Consider these factors when selecting new wiper blades:
- Blade length (measured from end to end)
- Mounting type (hook, clip, or specialized connector)
- Quality level (best window wiper blades often last longer)
- Weather conditions in your area
Different mounting systems include:
- J-Hook (most common)
- Snap Claw
- Side Pin
- Bayonet fitting
Removing Rear Wiper Blade
The removal process follows a standard sequence for most rear wipers, though some vehicles may have unique features requiring specific handling.
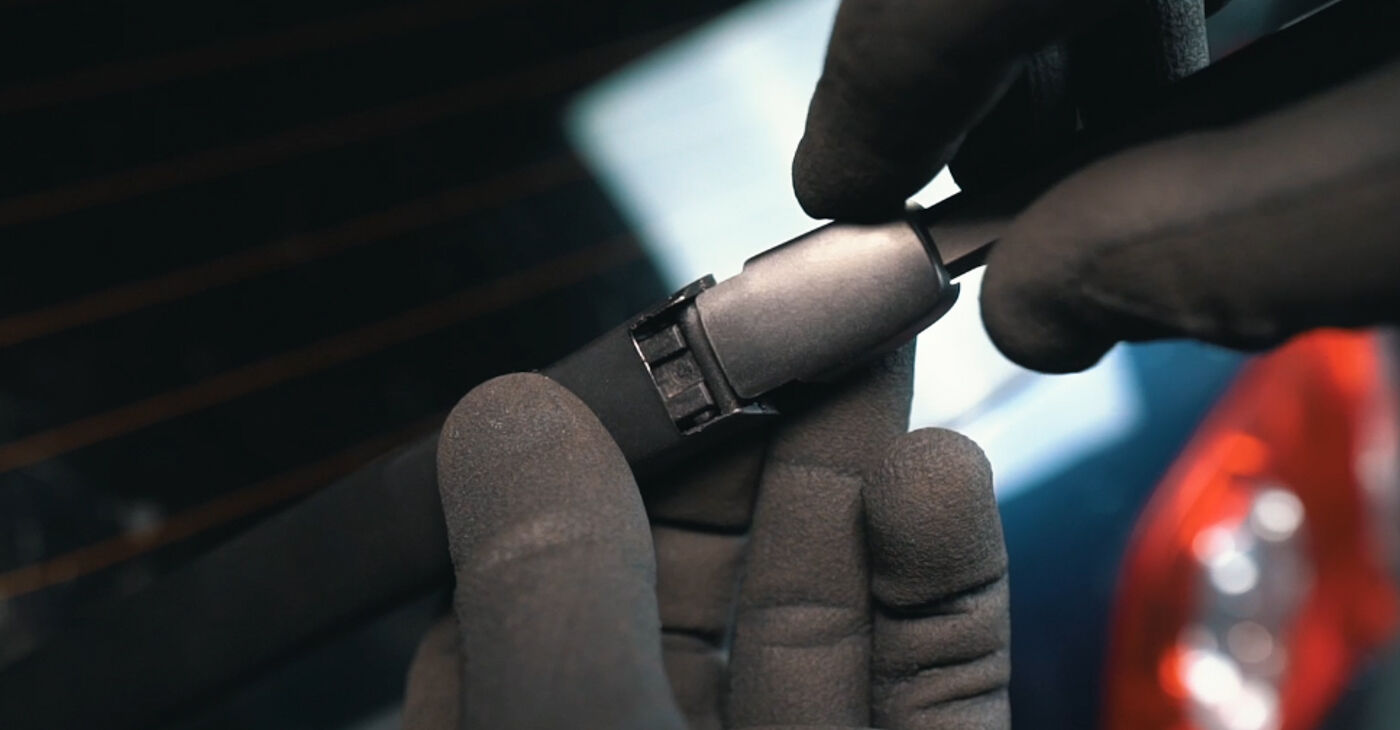
1. Remove the Protection Cap from the Arm Fastener
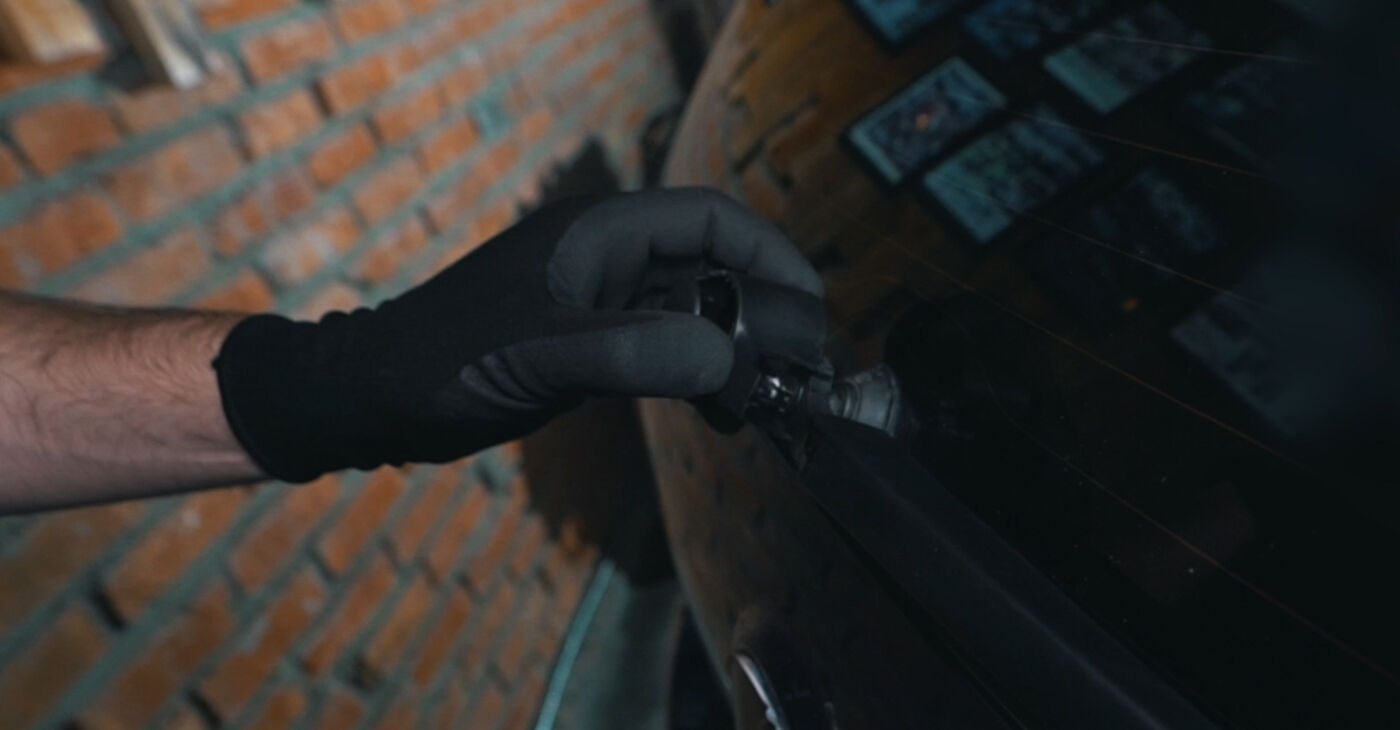
Start by locating the protective cover at the base of the wiper arm. This plastic cap prevents dirt and moisture from entering the mounting mechanism. Gently pull or twist the cover to remove it - the method depends on your car's design. Some caps simply lift off, while others require a quarter turn to release.
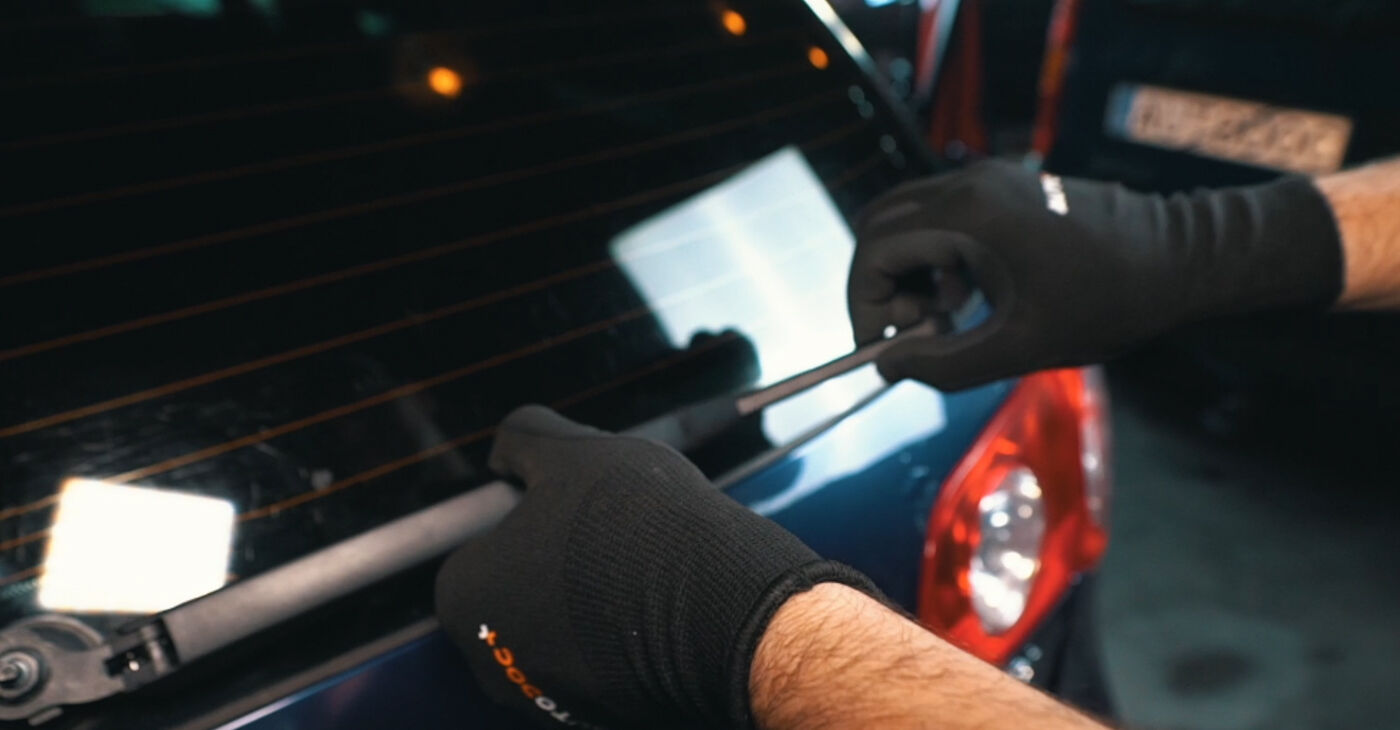
2. Lift the Wiper Arm Away from the Glass
Most rear wipers fold outward toward you, unlike front wipers. Raise the rear wiper arm by pulling it straight out from the window. The arm should move freely to a 90-degree angle from the glass surface. Be gentle but firm - the mechanism includes a spring that holds the blade against the windscreen during normal operation.
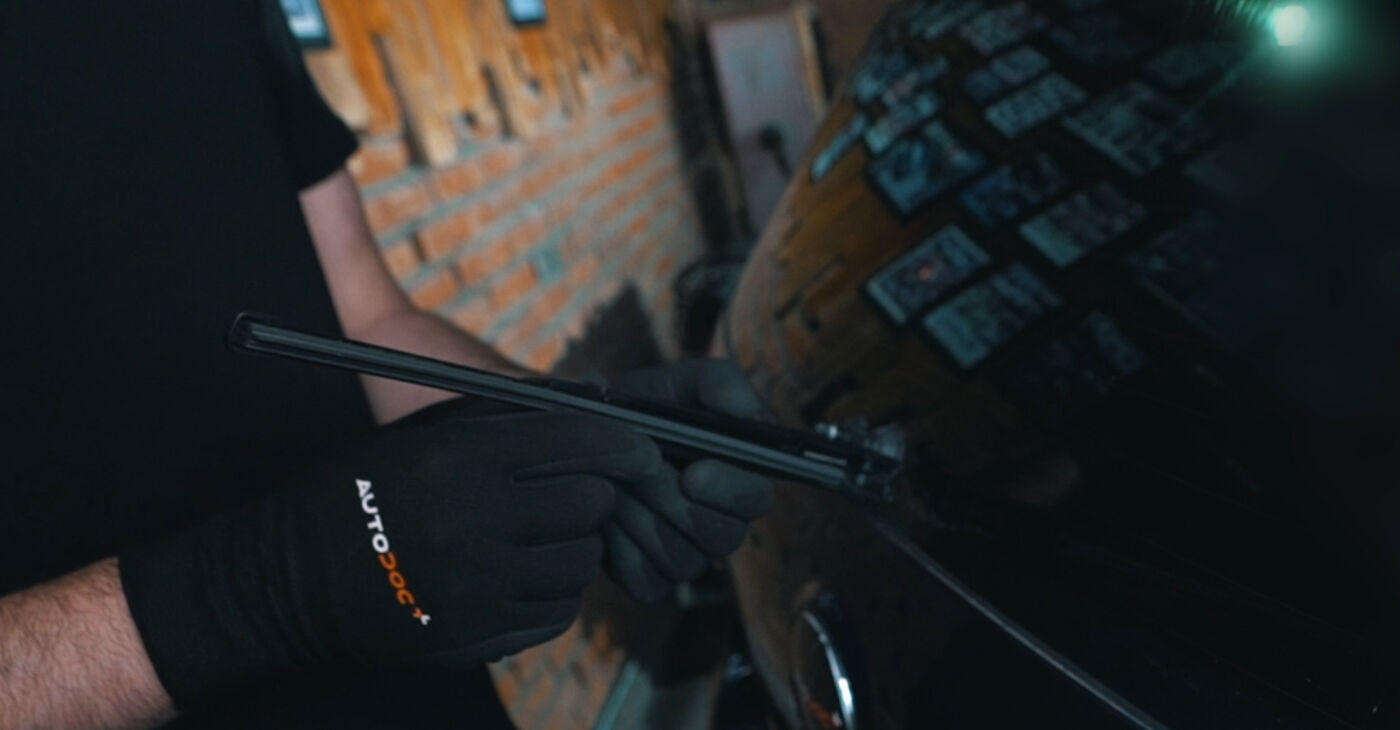
3. Slide the Upper Connector Off
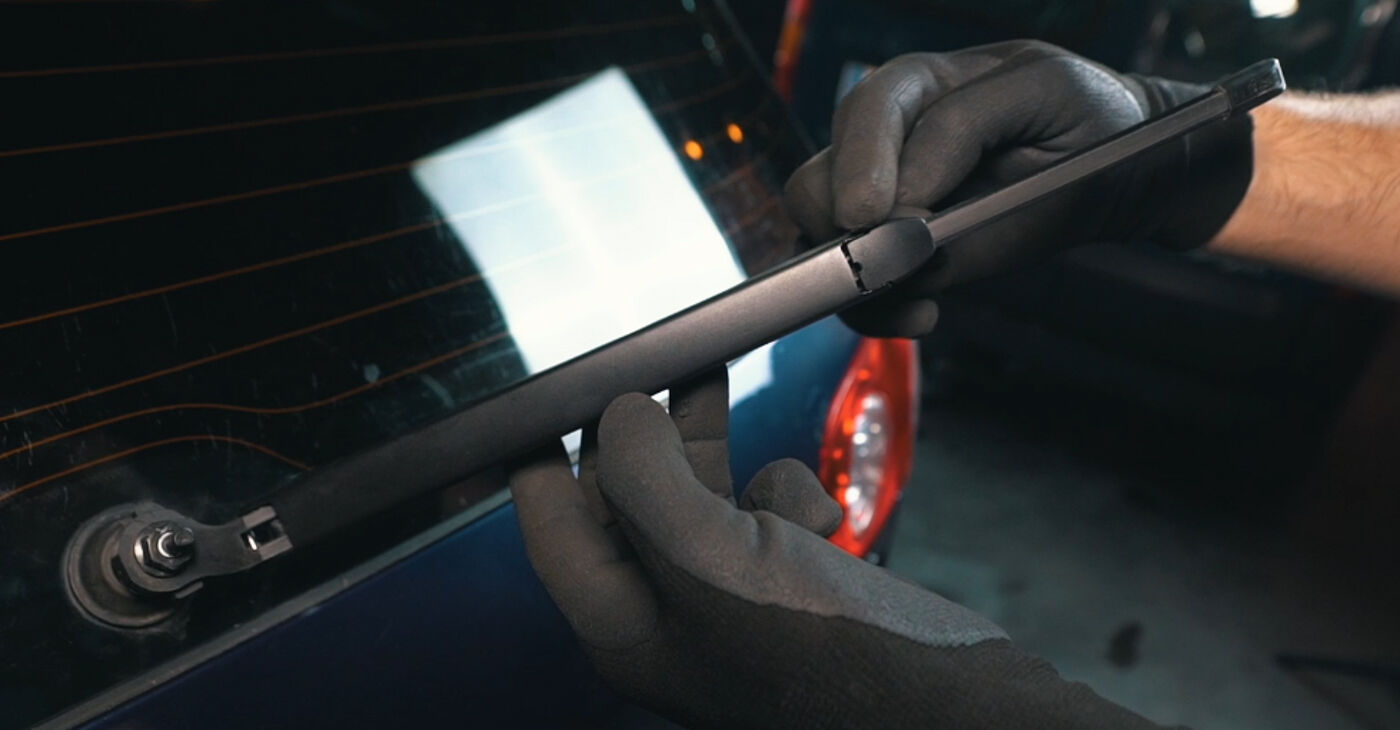
Turn the wiper blade so it sits perpendicular to the arm. Look for the connection point where the blade attaches to the arm. On hook-type connections, you'll see a small tab or latch that needs pressing while sliding the blade. Push this release mechanism and slide the old blade away from the hook end of the arm.
4. Remove the Wiper Blade
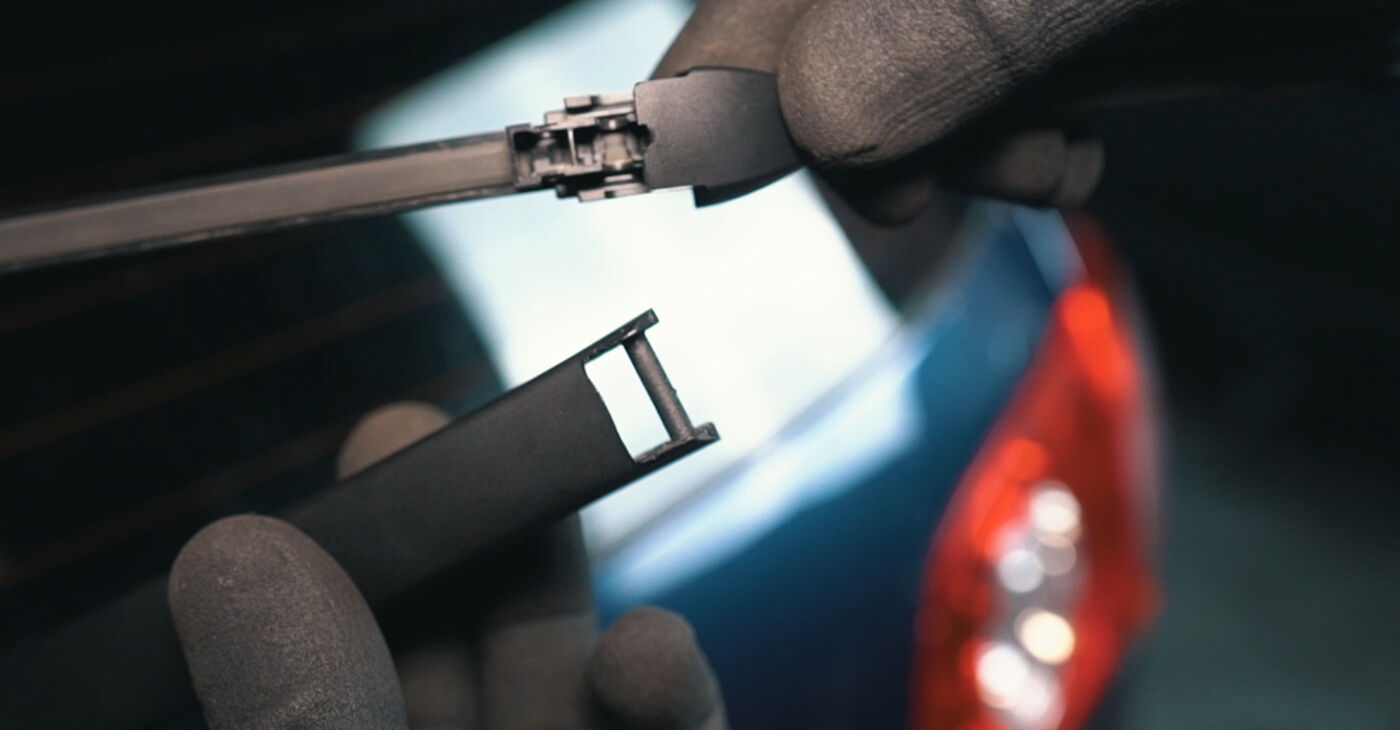
Complete the removal by pulling the worn blade completely free from the wiper arm. Note how the original blade was oriented - this helps during installation of the new one. Check the old wiper for any rubber pieces or clips that might have come loose during removal.
How to Fit New Rear Wiper Blades
Installing the new blade reverses the removal process, with attention to proper alignment and secure fastening.
 BOSCH Rear wiper blade
280 mm, Flat wiper blade
Article number: 3 397 016 506
£7.59
price incl. 20% VAT, excl. delivery costs
BOSCH Rear wiper blade
280 mm, Flat wiper blade
Article number: 3 397 016 506
£7.59
price incl. 20% VAT, excl. delivery costs
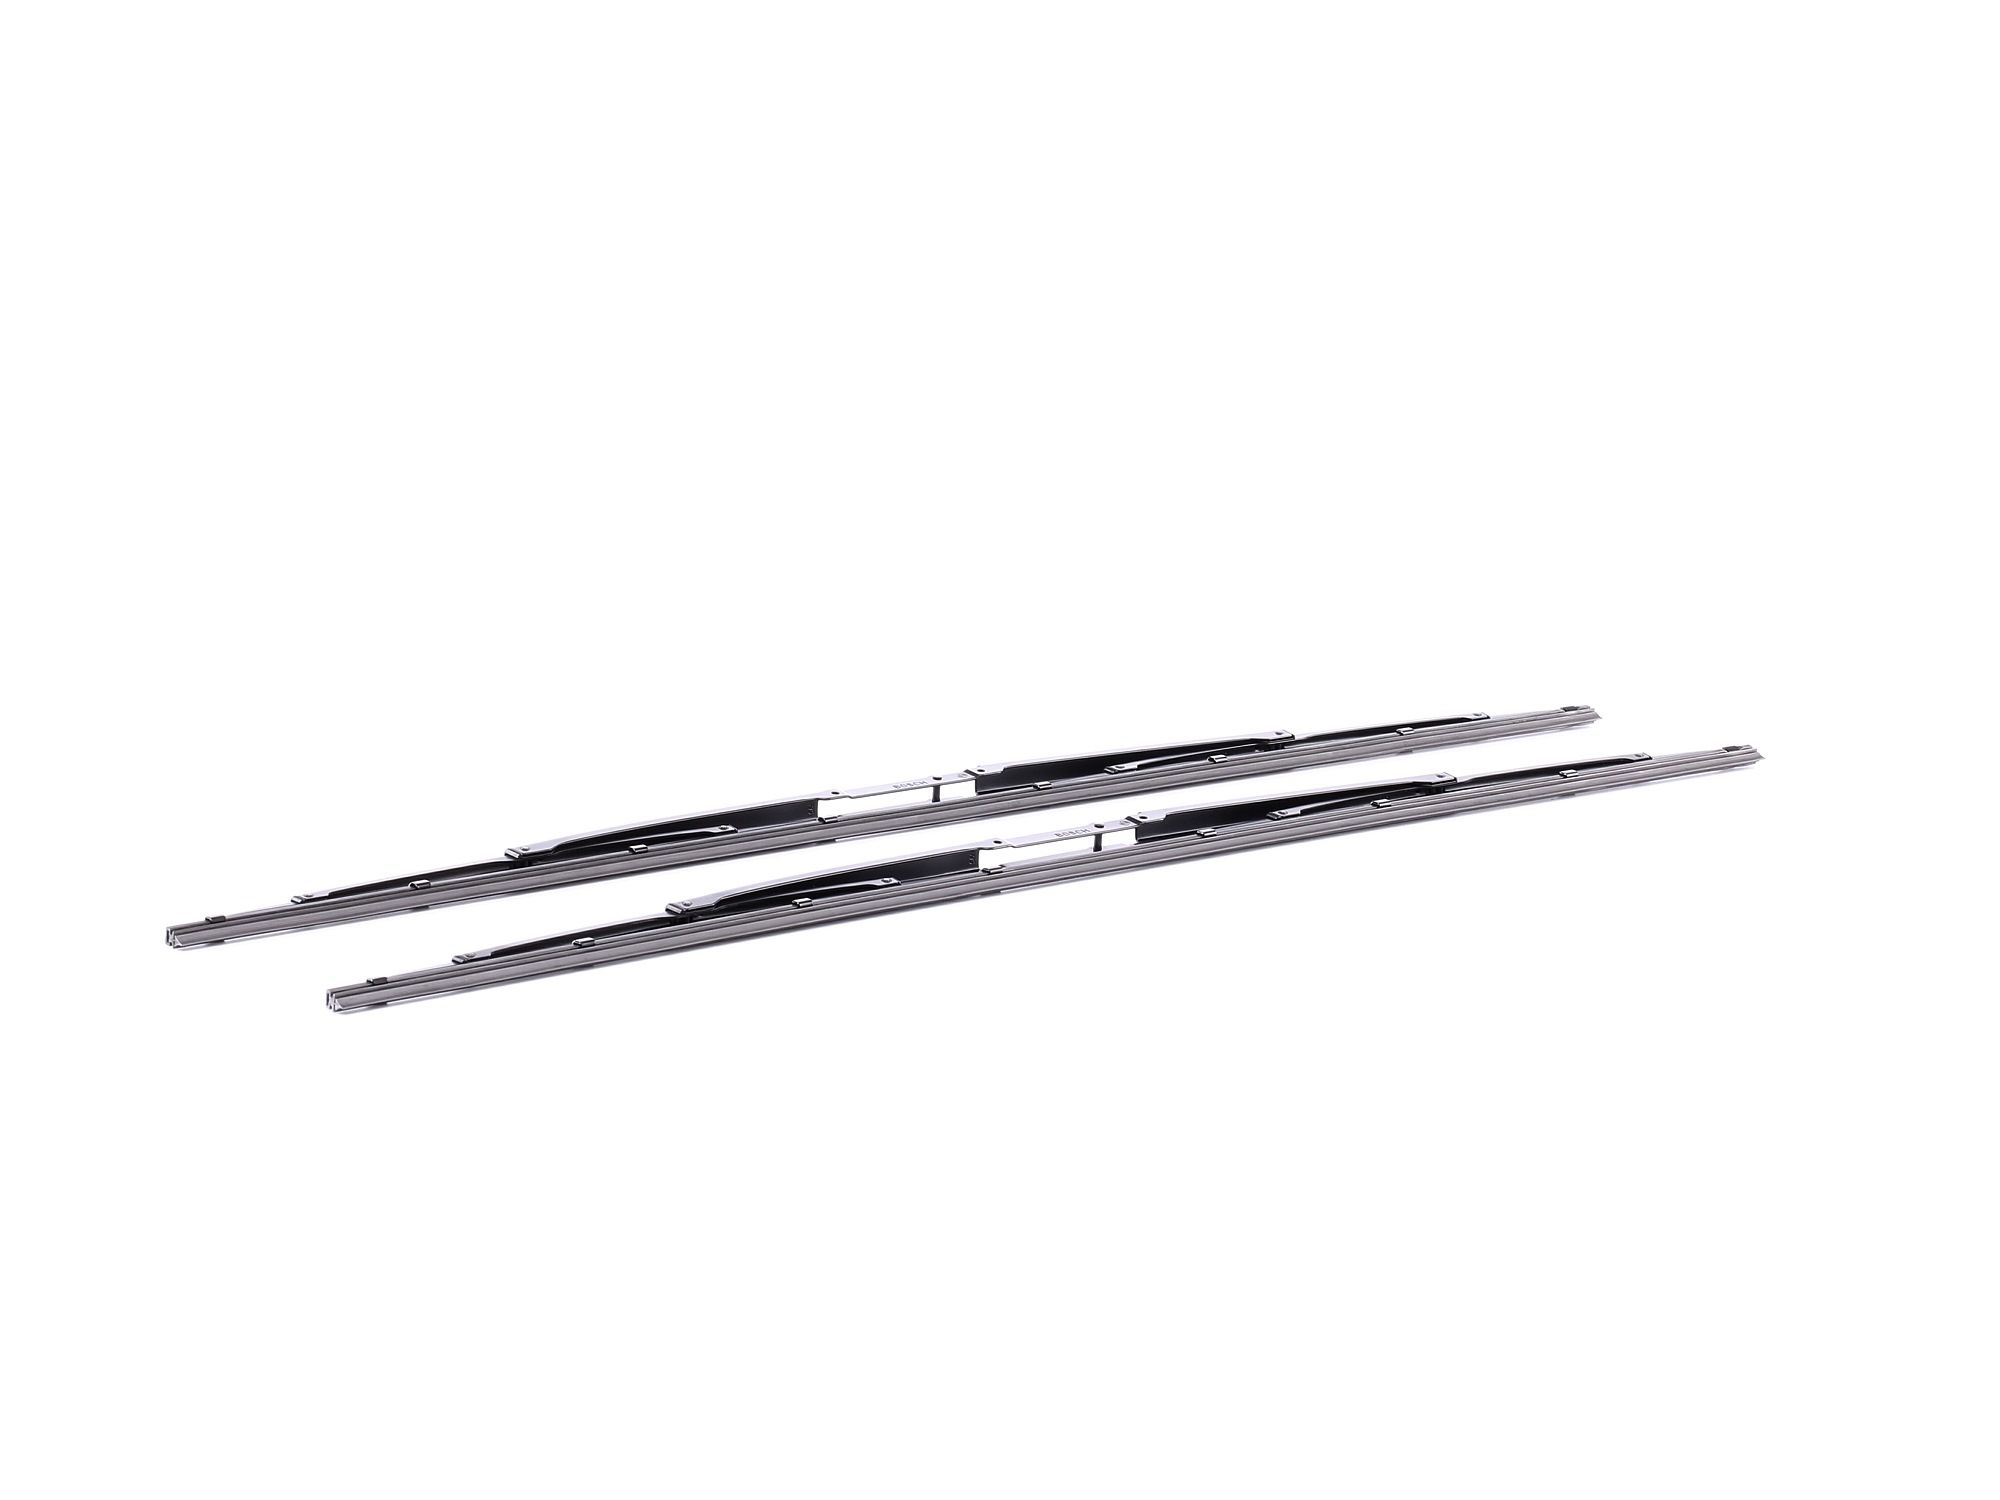 BOSCH Wiper blade
650 mm Front, Standard
Article number: 3 397 005 808
£26.49
price incl. 20% VAT, excl. delivery costs
BOSCH Wiper blade
650 mm Front, Standard
Article number: 3 397 005 808
£26.49
price incl. 20% VAT, excl. delivery costs
 BOSCH Rear wiper blade
240 mm, Flat wiper blade
Article number: 3 397 016 512
£8.29
price incl. 20% VAT, excl. delivery costs
BOSCH Rear wiper blade
240 mm, Flat wiper blade
Article number: 3 397 016 512
£8.29
price incl. 20% VAT, excl. delivery costs
 Article number: 577930
£22.49
price incl. 20% VAT, excl. delivery costs
Article number: 577930
£22.49
price incl. 20% VAT, excl. delivery costs
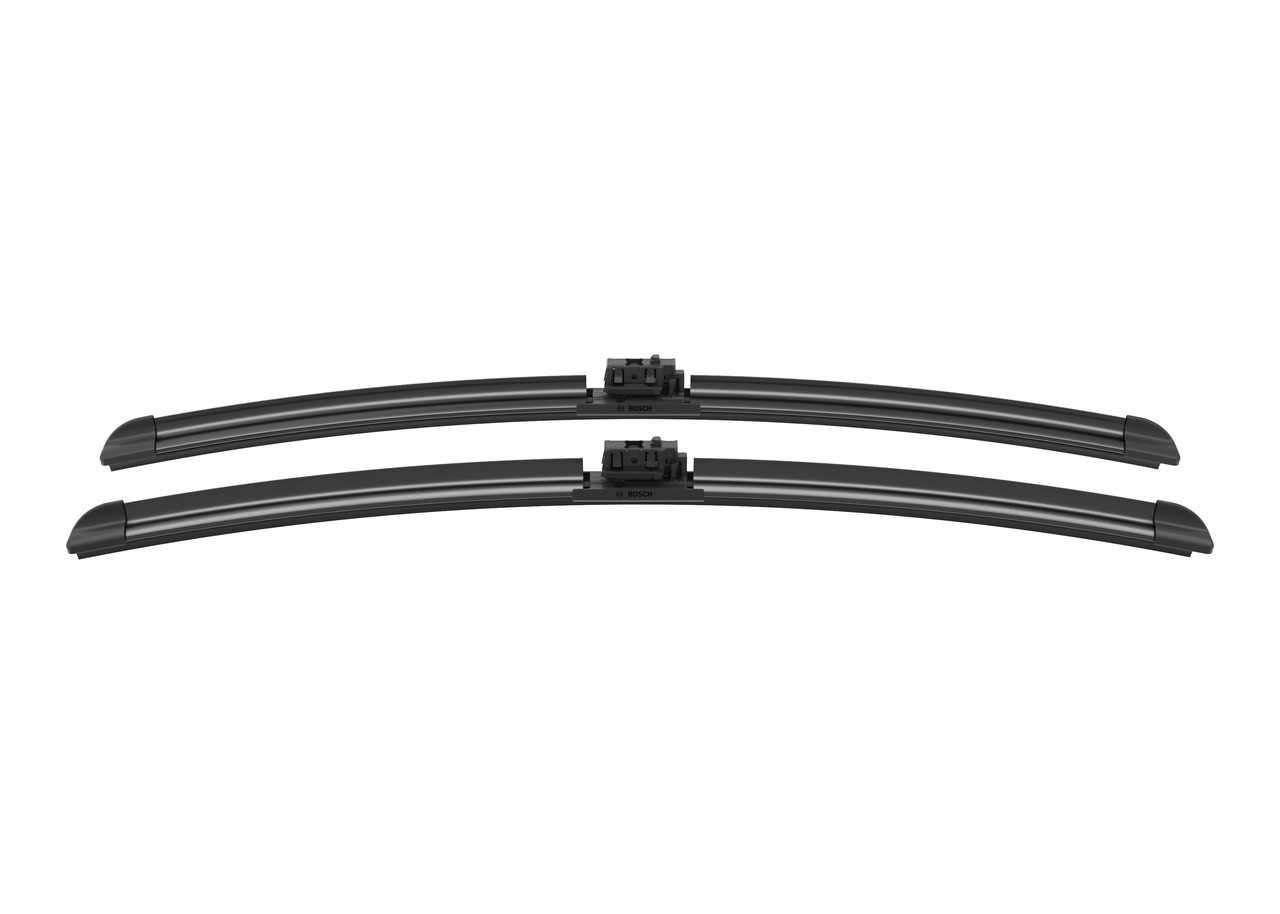
 BOSCH Wiper blade
600, 475 mm, Beam
Article number: 3 397 007 620
£23.49
price incl. 20% VAT, excl. delivery costs
BOSCH Wiper blade
600, 475 mm, Beam
Article number: 3 397 007 620
£23.49
price incl. 20% VAT, excl. delivery costs
7. Install the New Wiper Blade and Fasten It
Take your new blade and align it with the wiper arm's mounting point. For hook-type systems, slide the blade's connector onto the arm's hook until you hear a click. The blade should sit flush against the mounting mechanism. Ensure any clips or tabs on the blade seat properly in their corresponding grooves on the arm.
| Mounting Type | Installation Method | Key Points |
|---|---|---|
| Hook/J-Hook | Slide until click | Most common type |
| Snap Claw | Press down firmly | Requires positive pressure |
| Side Pin | Align and twist | Check orientation carefully |
| Bayonet | Push and quarter turn | Follow specific instructions |
8. Gently Lower the Arm Back onto the Windscreen
Once the new blade is securely attached, carefully lower the wiper arm back to its rest position against the rear window. Don't let it snap back forcefully - this could damage both the blade and the glass. The rubber should make even contact across its entire length.
9. Install the Protection Cap
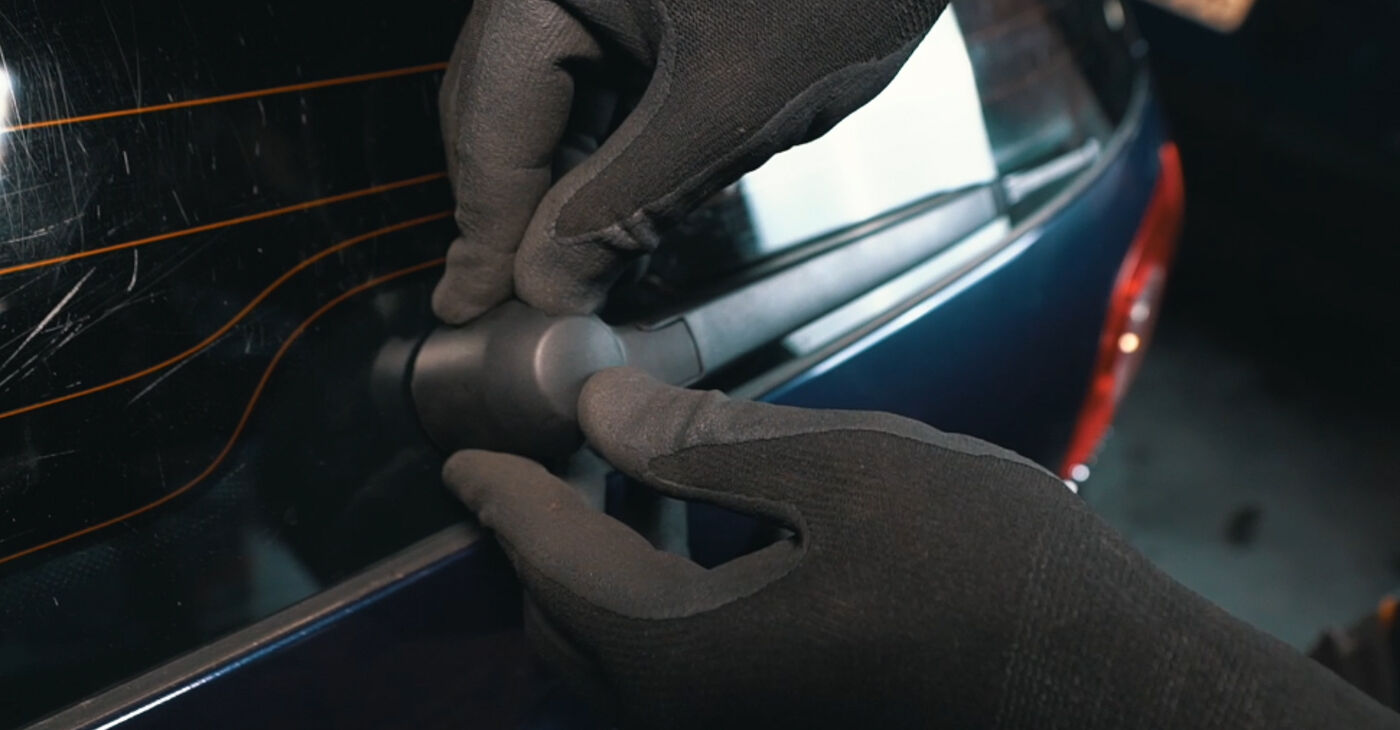
Replace the protective cover at the base of the wiper arm. This cap shields the mounting mechanism from weather and debris. Make sure it fits snugly and won't come loose during operation.
Expert Opinion: According to AUTODOC specialists, properly installed rear blades should show no gaps between the rubber and glass when resting. Any space indicates incorrect fitting or a worn mounting mechanism that may need attention.
After Replacement, Check That the Windscreen Wiper System Is Working Properly
Testing ensures your new rear wiper blade functions correctly and safely.
Start your vehicle and activate the rear wiper using the dashboard switch. Watch for smooth operation without juddering or skipping. The blade should move across the screen in a consistent arc, clearing water effectively without leaving streaks.
Check these performance indicators:
- Smooth movement - No stuttering or sticking
- Complete coverage - Blade reaches all areas of the sweep pattern
- No noise - Quiet operation without squeaking
- Clean wiping - No water streaks left behind
If you notice any issues, stop the wiper immediately and recheck the installation. Common problems include:
- Loose mounting (blade not fully engaged)
- Wrong orientation (blade installed backwards)
- Damaged rubber (torn during installation)
Final Thoughts
Consider the environmental impact when disposing of your old blade. Many recycling centres accept wiper blades, and some auto parts stores offer disposal services for customers.
Regular maintenance helps extend blade life. Clean your wiper blades monthly using mild soap and water to remove built-up grime and road salt.
Money-Saving Tip: Replace rear wiper blades every 12-18 months or when you notice decreased performance. Waiting too long can lead to scratched glass, which costs significantly more to repair than preventive blade replacement.
Frequently Asked Questions
Is it easy to fit a rear wiper blade?
Yes, fitting rear wipers is generally straightforward and takes just minutes. Most vehicles require no special tools, making it an ideal DIY job for any car owner.
Is a rear wiper delete an MOT failure?
Removing a factory-fitted rear wiper can result in MOT failure. MOT regulations require all originally fitted windshield wiper blades to remain functional and properly maintained throughout the vehicle's life.
Can I replace my wiper blades myself?
Absolutely. Most passenger cars allow easy DIY replacement without professional help. Check the packaging for specific instructions, and remember to dispose of old blades at your local waste collection facility.
Is there a special tool for wiper removal?
Generally, no special tools are needed for rear wiper replacement. However, some vehicles may require basic tools. Check if sunlight makes it difficult to see the middle connection point clearly before starting.