Table of Contents
Headlamp Light Intensity Severely Reduced? Causes, Fixes, & Common Mistakes
New headlights almost always shine bright. However, over time, many drivers notice that the road ahead is less lit up than before, their eyes get tired more quickly when driving at night, and assessing the traffic requires greater focus. This article explains why this happens, how to solve the problem and what can make it worse.
Why the headlight intensity is severely reduced
Dim headlights can be caused by a number of factors that affect their brightness and performance. Common causes include:
- Ageing bulbs – over time, the halogen, xenon, and LED bulbs wear out, leading to reduced light output.
- Dirty lenses – foggy or dirty headlight lenses can block light and make headlights appear dim.
- Weak battery – a battery with low charge or a failing alternator can cause a lack of power for the headlights.
- Faulty wiring – corroded or loose wiring connections may restrict the flow of electricity, dimming the lights.
- Electrical issues – a malfunctioning relay or blown fuse can disrupt the lighting system.
- Improperly angled headlamps – misaligned lights can cause uneven or dim lighting on the road, or dazzle other road users.
If your headlights are too dim, it’s essential to diagnose the root cause and address it quickly to stay safe while driving at night.
What to do if the headlight intensity is severely reduced
First you have to determine whether the lighting problem is caused by contamination, wiring and electrical faults, a weak battery, worn bulbs, or headlamp misalignment. There are different repair methods depending on the specific cause. Here are a few of them:
Sold by AUTODOC Sold by AUTODOC Sold by AUTODOC Sold by AUTODOC Sold by AUTODOC 


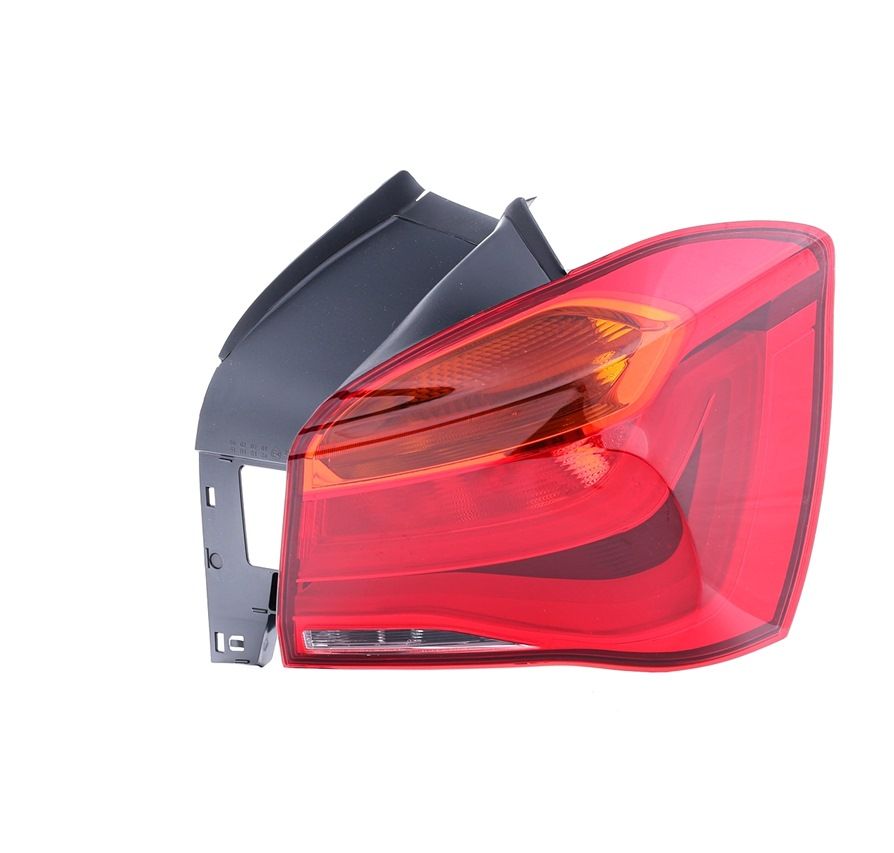
 ABAKUS Rear light
Right, Outer section, P21W, LED, without bulbs, without bulb holder
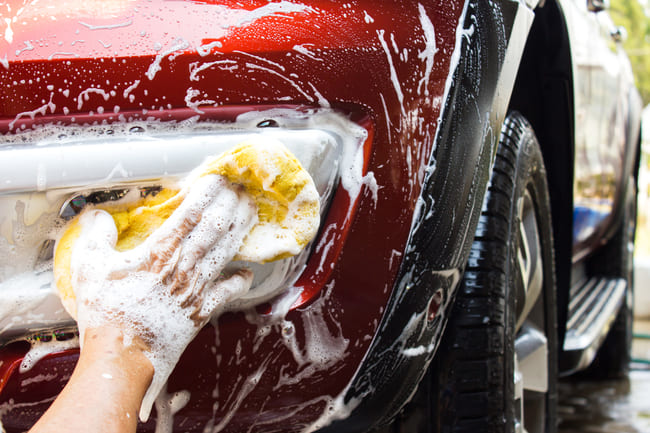
Clean the headlights
Dirty lights illuminate the road very poorly. When they are covered in dirt and debris, visibility is significantly reduced. In fact, the driver may only see 10% of what is happening in front of their car.
To wash the lights, use a soft cloth or a sponge. Make sure that the utensils are clean and contaminants could be abrasive. Use a car shampoo and warm water to remove stubborn dirt.
Traces of insects and stains can be removed using special cleaners. Organic matter is tricky to remove, so it is better to get rid of the stains as soon as they appear.
AUTODOC tip: Never clean the headlight lenses with a dry cloth as it may scratch the surface.

Polish the headlights
New headlights have a special coating that protects the lens itself from mechanical damage and UV rays. Over time, it is broken down and microcracks and scratches appear on the surface of the headlight, making the lens turn cloudy and yellow.
This issue can be resolved using special headlight restoration kits to polish the lenses. These typically consist of sandpaper with various grits, a polishing wheel, and paste.
Polishing is done in several stages. The bodywork around the headlight cluster should be covered with painter’s tape to avoid damaging the paint. An even better idea is to completely dismantle the headlight. It should then be cleaned of dirt and degreased.
Next, polish the surface with coarse-grit sandpaper soaked in water until an even haze appears. After that, use finer sandpaper and proceed to the finishing polish. The latter is best done with a grinder as this speeds the polishing process and ensures a high-quality finish.
AUTODOC tip: Please note that during the polishing process, the factory-applied protective layer is completely removed. You may need to repeat the procedure once a month. For a longer-lasting result, we recommend covering the headlight with a transparent automotive lacquer afterwards.
Replace the bulbs
Xenon lamps become dim over time. Similarly, with halogen bulbs, burnt deposits can form on the surface if they are installed incorrectly. If you've noticed a decrease in headlight brightness, try to remember when you last replaced the bulbs.
Typically, the average lifespan of standard incandescent bulbs is 500 hours; halogen bulbs last up to 1,500 hours, xenon bulbs last up to 3,000 hours, and LED bulbs can last over 10,000 hours.
AUTODOC tip: When replacing halogen bulbs, avoid touching the glass with your bare hands. The oils from your skin can quickly form carbon deposits on the surface. To ensure even road illumination with xenon lamps, always replace them in pairs.
Sold by AUTODOC Sold by AUTODOC Sold by AUTODOC Sold by AUTODOC Sold by AUTODOC  ABAKUS Headlight
Right, H7, HB3/H7, HB3

 ABAKUS Headlight
Right, H7, H7/H1, W5W, PY21W, H1, Crystal clear


Clean the breathers
The breather vents let air in and out of the lamp to balance the internal pressure and reduce condensation. If the vents are clogged, condensation will build up inside the headlight housing, resulting in foggy lenses and deteriorated visibility.
AUTODOC tip: If the lights get foggy, it is advisable to check the condition of the seals and whether the rear covers are tightly secured to the housing.
Restore the power supply
Poorly repaired vehicle wiring, corroded terminals, or alternator or battery malfunctions result in the lamp socket being fed with a lower voltage. This is often not enough to ensure proper lighting. It is therefore necessary to replace old and worn wires in good time and to use a special non-conductive grease to protect the terminals from the elements.
AUTODOC tip: If possible, use wires with a silicone sheath. They are more resistant to thermal stress, mechanical damage, aggressive chemicals and temperature changes. They also offer low flammability.
Adjust the headlight beam
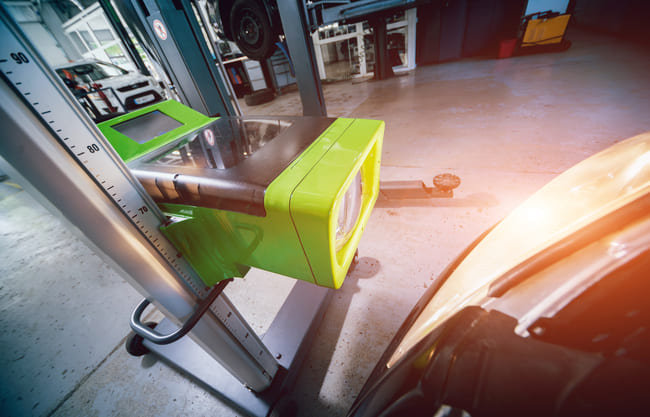
It is recommended to adjust the beam on average once a year or after each bulb replacement or installation of new wheel rims or tyres, as well as any repair to the front part of the car body. To do this, you need to park the vehicle on a flat, horizontal surface perpendicular to a wall.
Then, mark the wall with the appropriate lines. To see how the lines should be drawn, and the distance between them and the car, look at the car user manual as the requirements for each car model may vary.
AUTODOC tip: Do not forget to prepare the car for this procedure. Check the tyre pressure and make sure it matches the recommended pressure. Fill the fuel tank partially or fully. Try to simulate the daily load on the suspension by asking a person of a similar body type to sit in the front seat or place a load that matches your weight on the driver's seat. If your car is often full of passengers, you will need more people to help.

3 errors when trying to increase the headlight intensity in your car
When attempting to increase the intensity of your car's headlights, it's important to be aware of potential issues that may arise. Not all modifications are safe or legal, and some can cause damage to your vehicle or even jeopardise the safety of other drivers. Here are three common errors people make when trying to boost headlight brightness:
- Replacing standard halogen lamps with xenon lamps. This is not only inefficient, but illegal in most countries. Xenon lamps installed in halogen headlights can dazzle the oncoming drivers and cause the reflector to rapidly tarnish. In addition, they are very vulnerable to contamination; when using them, a washer and self-levelling system is mandatory.
- Installing more powerful lamps than the vehicle’s standard ones. Despite the improvement in brightness, such a solution may cause the reflector to tarnish and shed, and the lens or wires to melt. In the end, this leads to a more expensive headlight replacement.
- Connecting the headlights to the battery via an additional relay. This kind of tuning allows the supply voltage to be increased to 13.5–14V, which has a positive effect on the light intensity. However, modifications to the car electrical system that are not authorised by the carmaker are dangerous and, therefore, unacceptable.
Conclusion
Driving safety and comfort largely depend on the headlight brightness. Therefore, every car owner must monitor the condition of their car lights. It is not difficult to do this. All you need to do is stick to the manufacturer's recommendations regarding the maintenance schedule for car units and assemblies, avoid altering the lighting equipment’s design, follow our advice, and buy high-quality components, tools, accessories and automotive chemicals.
A useful video on this topic:


